Deploying Photopea on a ZSpace NAS with Docker gives you a browser-based image editing experience close to Photoshop, with support for PSD files, layers, and masks. It helps reduce Adobe subscription costs, improves privacy for online image editing, and makes cross-device access easier. Keywords: Photopea, ZSpace, Docker.
Technical Specifications at a Glance
| Parameter | Description |
|---|---|
| Deployment Target | ZSpace NAS |
| Core Application | Photopea |
| Runtime Method | Docker container |
| Access Protocol | HTTP |
| Default Port Mapping | 2000:2887 |
| Remote Access Capability | cpolar tunnel |
| Main Dependencies | SSH, Docker, cpolar |
| Image Repository | registry.cn-guangzhou.aliyuncs.com/os_cmty/os_cmty:Photopea |
| Star Count | Not provided in the source |
| Use Cases | Private photo editing, remote image editing, lightweight design |
This Solution Can Replace Part of Your Everyday Photoshop Workflow
The value of Photopea is not that it fully replaces Photoshop, but that it covers high-frequency image editing tasks at extremely low cost. It can open PSD files directly in the browser while preserving core editing capabilities such as layers, masks, and channels.
For NAS users, this type of deployment is especially practical: your data stays local, the service remains online, and phones, tablets, and laptops can all access it directly. Compared with public online image editing platforms, a private deployment is better suited for scenarios involving sensitive photos or work assets.
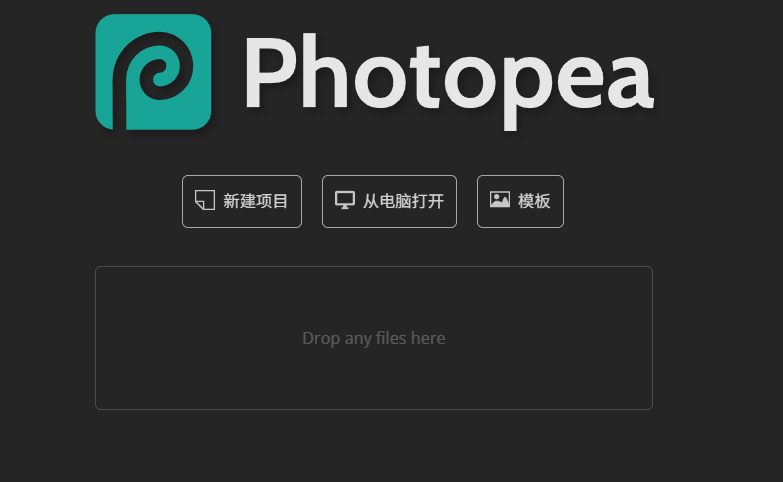 AI Visual Insight: The image shows the target result of this setup: opening a browser-based image editor in a NAS environment. The interface structure resembles Photoshop, with a toolbar on the left, a canvas in the center, and layers and properties panels on the right. This indicates that the solution is not a simple image viewer, but a full web-based image workstation capable of multilayer editing.
Photopea Has Clearly Defined Practical Limits
It works well for daily cropping, color adjustment, watermarking, collages, and simple compositing. It is also suitable for temporarily opening PSD files and making lightweight edits. However, if your work involves large-scale RAW processing, complex plugin chains, or strict color management, this solution is not equivalent to a professional desktop workflow.
# Access the Photopea service in a browser
# Replace NAS_IP with the actual ZSpace NAS address
http://NAS_IP:2000
Use this address to verify that the container is correctly exposing the web service.
You Must Confirm That the ZSpace NAS Meets the Basic Runtime Requirements First
The first step is to enable SSH. You need terminal access to the ZSpace NAS for the directory creation, image pull, and container startup steps that follow. If SSH is not enabled, you cannot continue with the deployment.
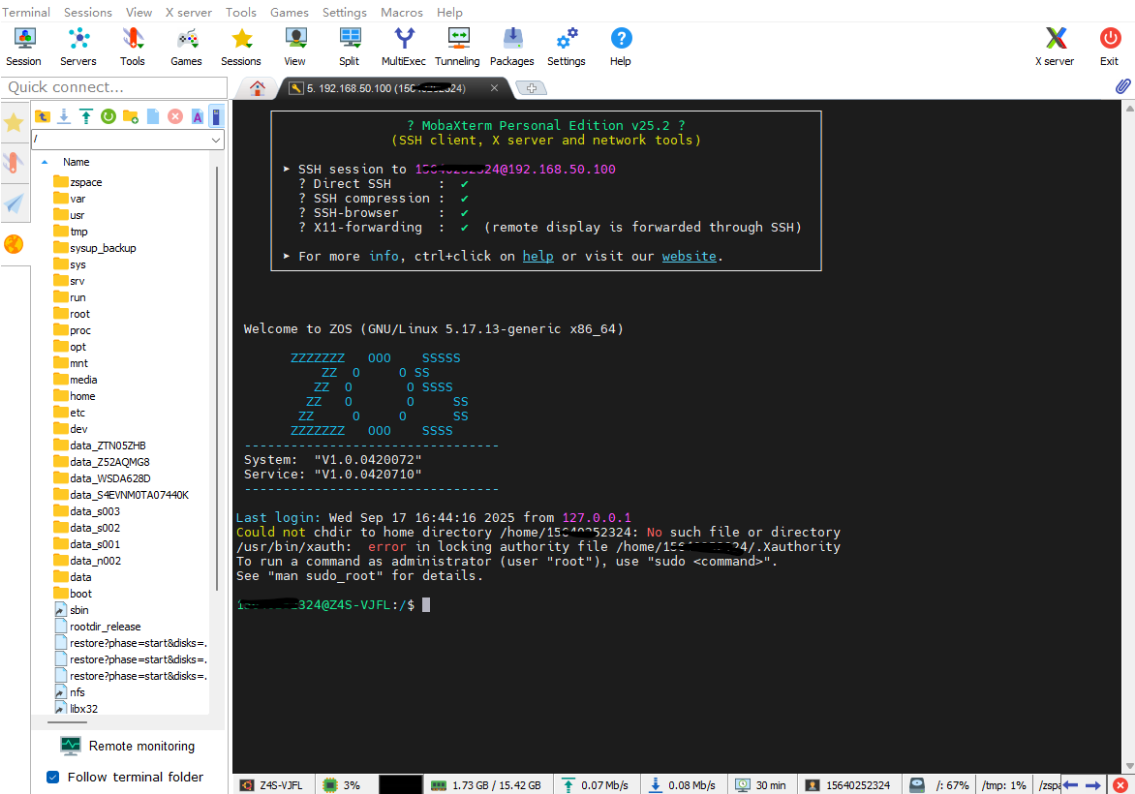 AI Visual Insight: The image shows the SSH-related configuration status in the ZSpace management interface. The key point is confirming that the device exposes a remote shell entry point. This means subsequent Docker operations are performed through a standard Linux administration workflow rather than a graphical wizard, which is better for automation and troubleshooting.
# Connect to the ZSpace NAS as the root user
# Replace IP with your NAS LAN address
ssh root@IP
This command enters the Linux environment on the ZSpace NAS and serves as the starting point for the deployment.
An Available Docker Service Is Required for Containerized Deployment
Photopea runs in a container in this guide, so you also need to confirm that Docker is installed and running correctly. It is a good idea to check both the version and the service status so you do not run into a situation where the command exists but the daemon is not running.
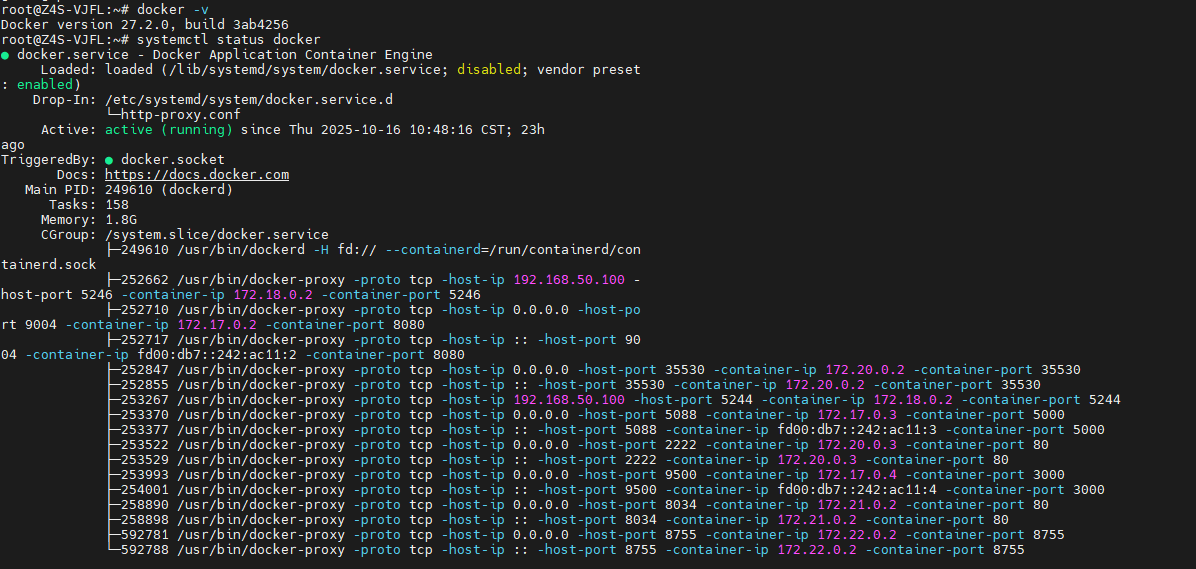 AI Visual Insight: The image shows terminal checks for the Docker version and system service status. Technically, this step verifies that the container runtime, the systemd service, and the CLI toolchain are all available at the same time, preventing later
 docker pull or docker run failures caused by a daemon issue.
# Check the Docker version
docker -v

# Check the Docker service status
systemctl status docker
These commands confirm that both the Docker CLI and the background service are available.
Photopea Can Start Quickly with a Single Container
Create a dedicated directory first so you can manage everything more easily later. Even if the current image does not strongly depend on persistent volumes, keeping a deployment directory is still a safer operational practice.
 AI Visual Insight: The image shows the creation of the
 /docker/Photopea directory in the NAS terminal. This structure indicates an application-per-directory management approach, which makes it easier to add configuration files, scripts, or reverse proxy rules later and aligns with maintainable home server practices.
# Create the application directory and enter it
mkdir -p /docker/Photopea && cd /docker/Photopea
This command creates a dedicated deployment path for Photopea.
Next, pull the image and start the container. In this setup, host port 2000 maps to container port 2887, which becomes the final browser access point.
 AI Visual Insight: The image shows terminal output from pulling the Photopea image from Alibaba Cloud Container Registry. It reflects that this setup takes domestic network conditions into account and prioritizes a mirror source that is easier to download, reducing timeouts and failures during image retrieval on home NAS devices.
 AI Visual Insight: The image shows the terminal state after a successful
 docker run. The key technical details are using -d for background execution, --name to define the container name, and -p 2000:2887 for port mapping. This means the web editor has been packaged as an independent service instance that LAN devices can access directly.
# Pull the image
docker pull registry.cn-guangzhou.aliyuncs.com/os_cmty/os_cmty:Photopea

# Start the container and map the access port
docker run -d \
  --name Photopea \
  -p 2000:2887 \
  registry.cn-guangzhou.aliyuncs.com/os_cmty/os_cmty:Photopea
These commands complete the image download and container startup. This is the core deployment step of the entire solution.
Verifying LAN Access Quickly Confirms Whether the Deployment Worked
After the container starts, open http://ZSPACE_IP:2000 in your browser. If the page loads normally, the image, port mapping, and container process are all working correctly.
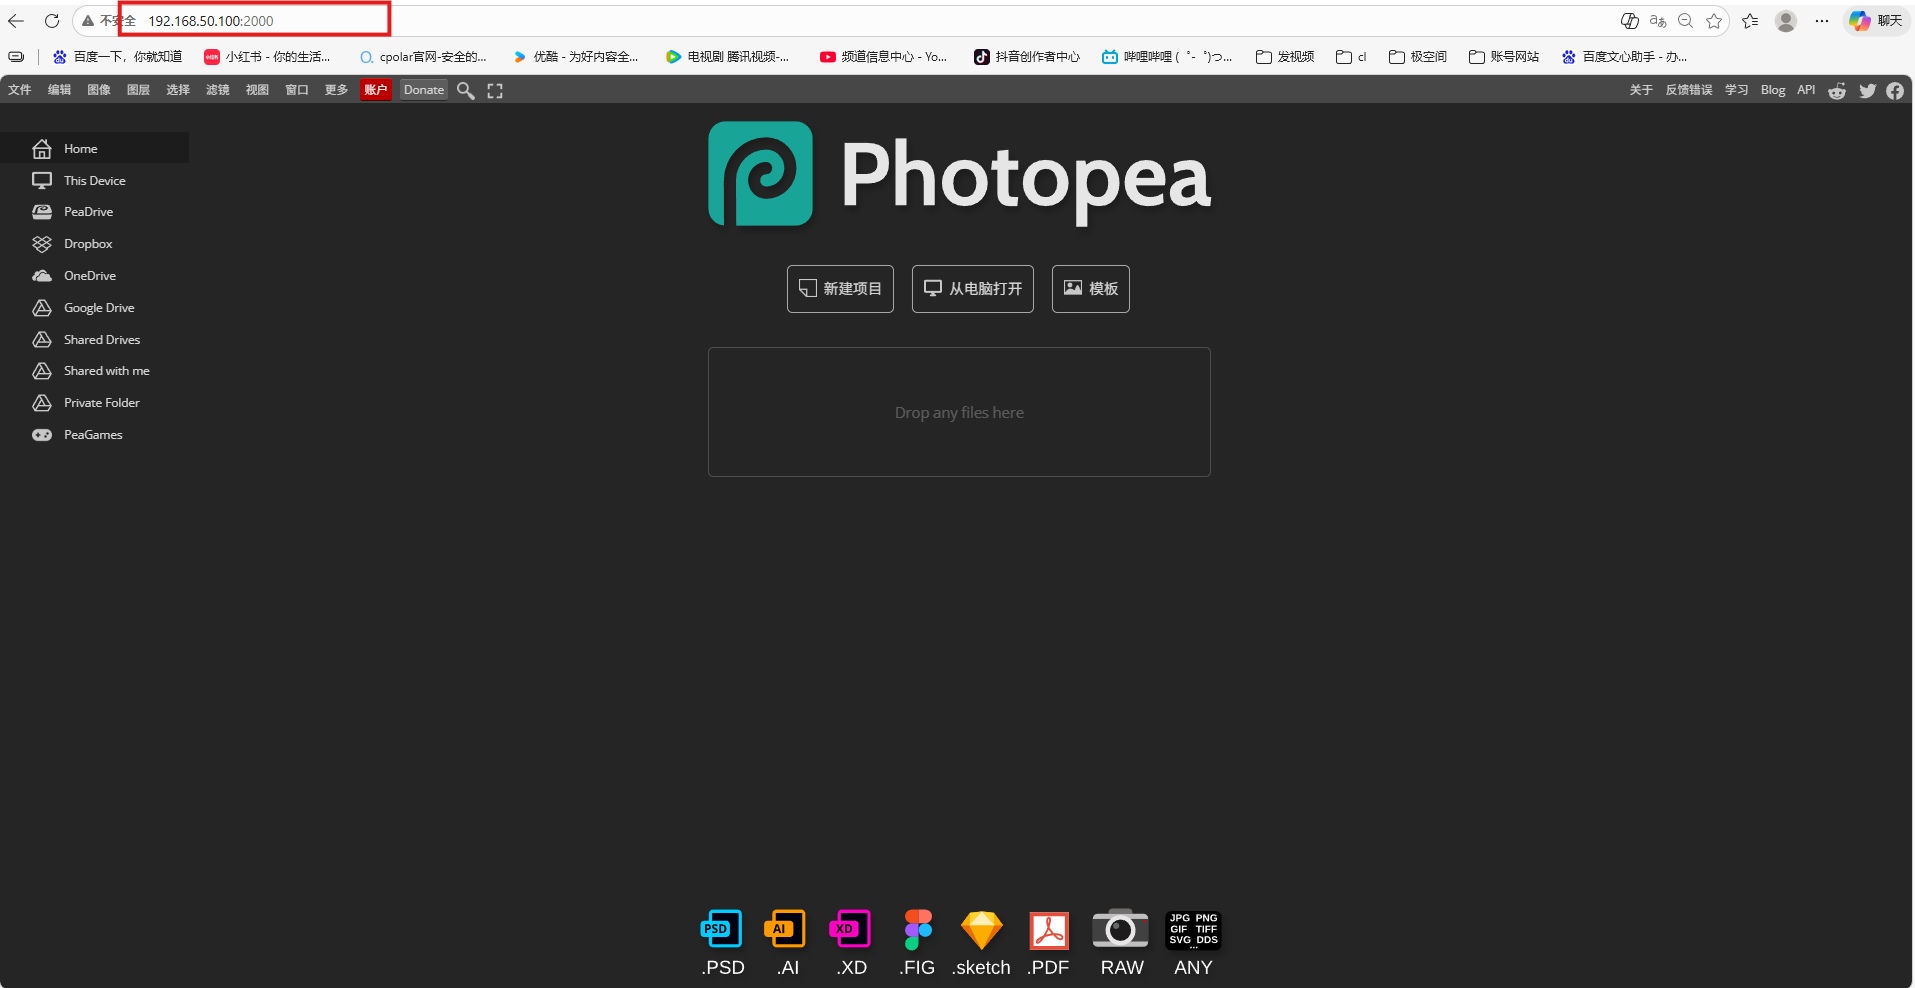 AI Visual Insight: The image shows the Photopea homepage opening successfully in a browser. Technically, this means the HTTP entry point, static asset delivery, and frontend application initialization have all completed successfully, and the service is correctly exposed from inside the container to the NAS host network.
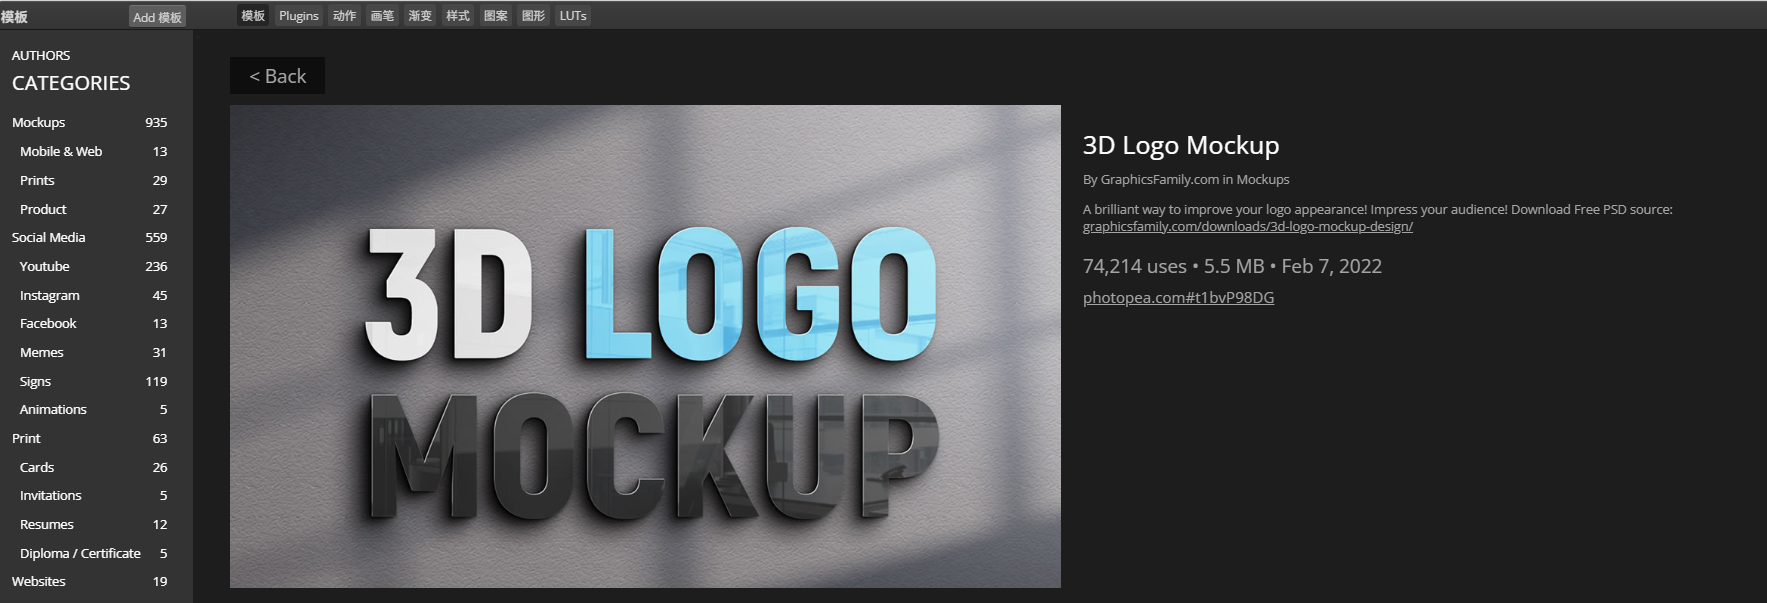 AI Visual Insight: The image reflects that the interactive editing workspace has loaded successfully, including the toolbar, layer panel, and main canvas. This proves that the service is not only reachable, but that the core frontend editor is running correctly and can handle real editing tasks.
If You Need Internet Access, You Should Add a cpolar Tunnel
If you only use the service inside your home LAN, you can stop here. If you want to access Photopea on your NAS from an external network, you need to map local port 2000 to a public address.
The role of cpolar is to create a secure tunnel so a home network without a public IP can still expose a web service. This is especially useful for temporary image edits, cross-device collaboration, or urgent access to design assets.
# Install cpolar with one command
sudo curl https://get.cpolar.sh | sh

# Check the cpolar service status
sudo systemctl status cpolar
These commands install cpolar and verify that the service has started correctly.
The cpolar Web Management Interface Handles Tunnel Configuration
After installation, open http://IP:9200 and sign in to the cpolar dashboard. In Tunnel Management, create a new tunnel, choose HTTP as the protocol, and set the local address to 2000, which points to the Photopea service you deployed earlier.
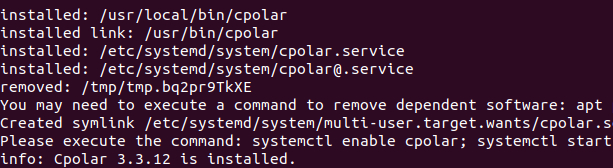 AI Visual Insight: The image shows the terminal process of installing cpolar through a shell script, indicating that the tool uses a lightweight proxy client deployment model with no manual compilation required. For NAS users, this lowers the barrier to exposing services to the public internet.
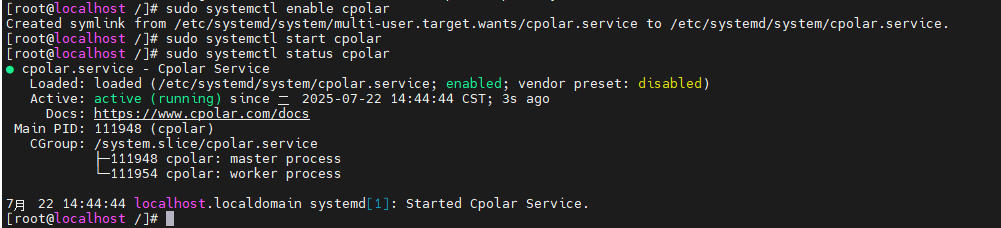 AI Visual Insight: The image shows the
 systemctl query result. The core goal is to confirm that the cpolar background process is in the active state. Only when the tunnel proxy daemon runs stably does the public access address remain continuously available.
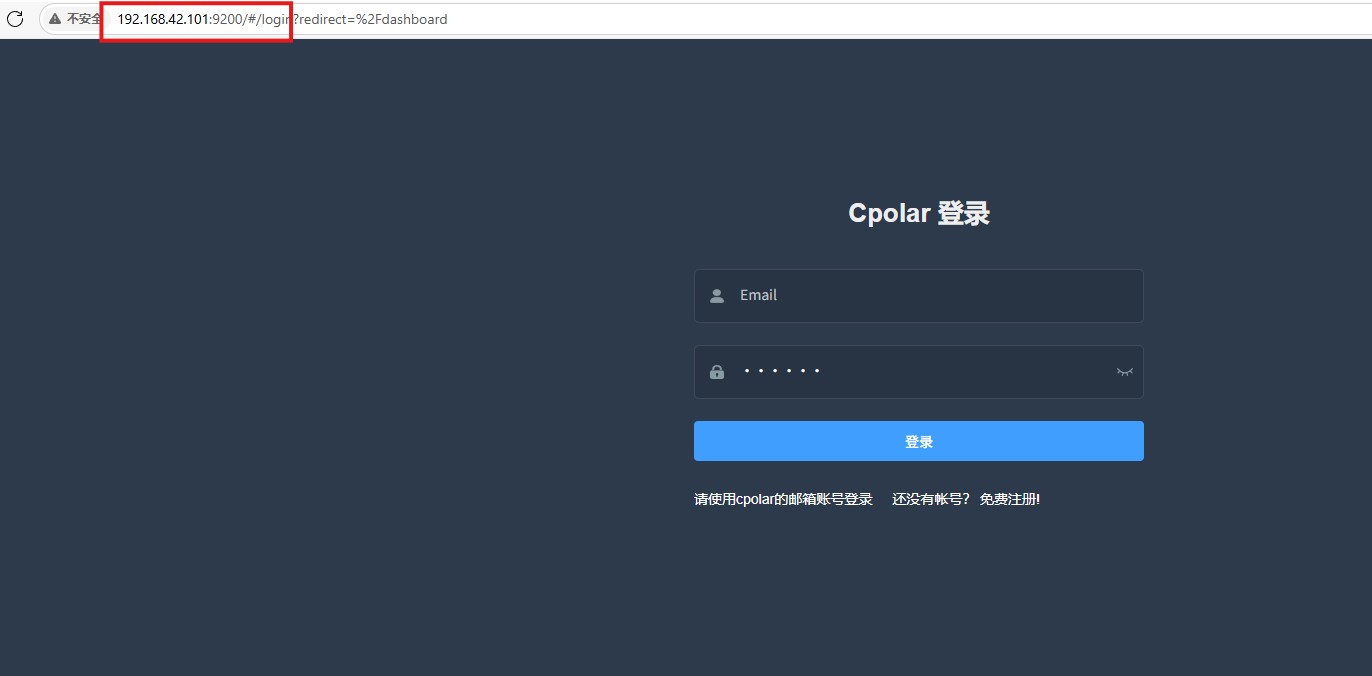 AI Visual Insight: The image presents the browser-based management panel of cpolar, showing that tunnel configuration has moved from the command line into a visual interface. This dashboard typically handles tunnel creation, address management, and log inspection, making it accessible even for non-specialist administrators.
Tunnel Parameters Should Match the Photopea Service Exactly
Use the following recommended settings: choose any tunnel name, set the protocol to http, set the local address to 2000, choose Random Domain as the domain type, and select China Top as the region. After creation, you will receive a temporary public URL.
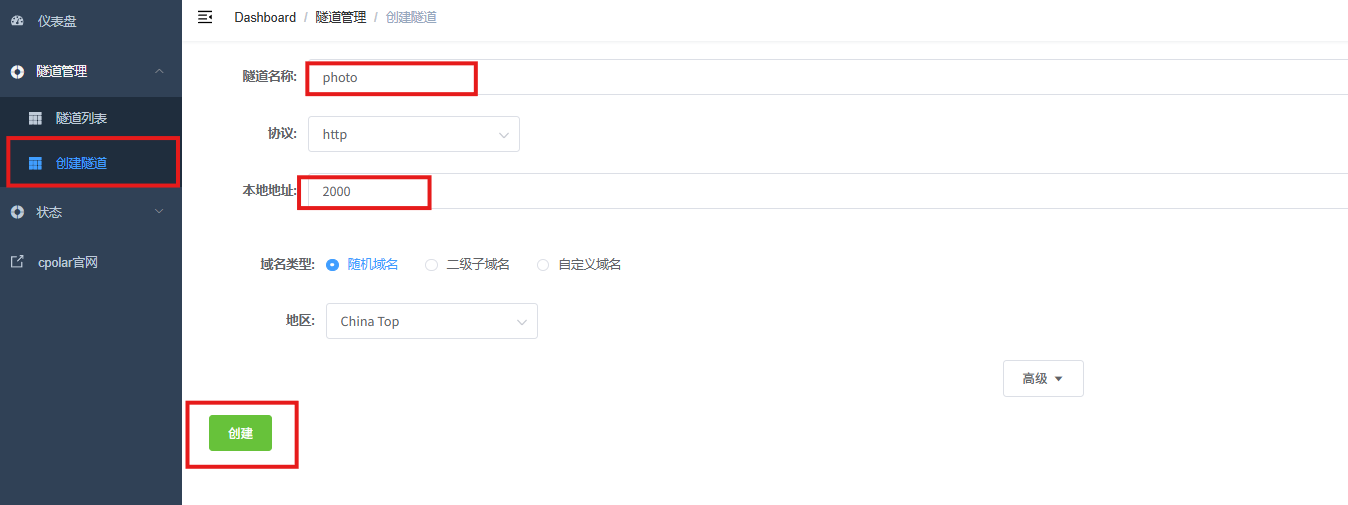 AI Visual Insight: The image shows the exact form configuration used to map local port
 2000 to a public HTTP address. Technically, this step completes the forwarding binding between incoming public requests and the web service running inside the NAS, which is the critical connection layer for remote Photopea access.
 AI Visual Insight: The image shows the list of online addresses after tunnel creation, indicating that cpolar has issued an accessible public endpoint for the local Photopea service. You can use this address immediately for cross-network testing, although a random address usually changes after a rebuild or reconnect.
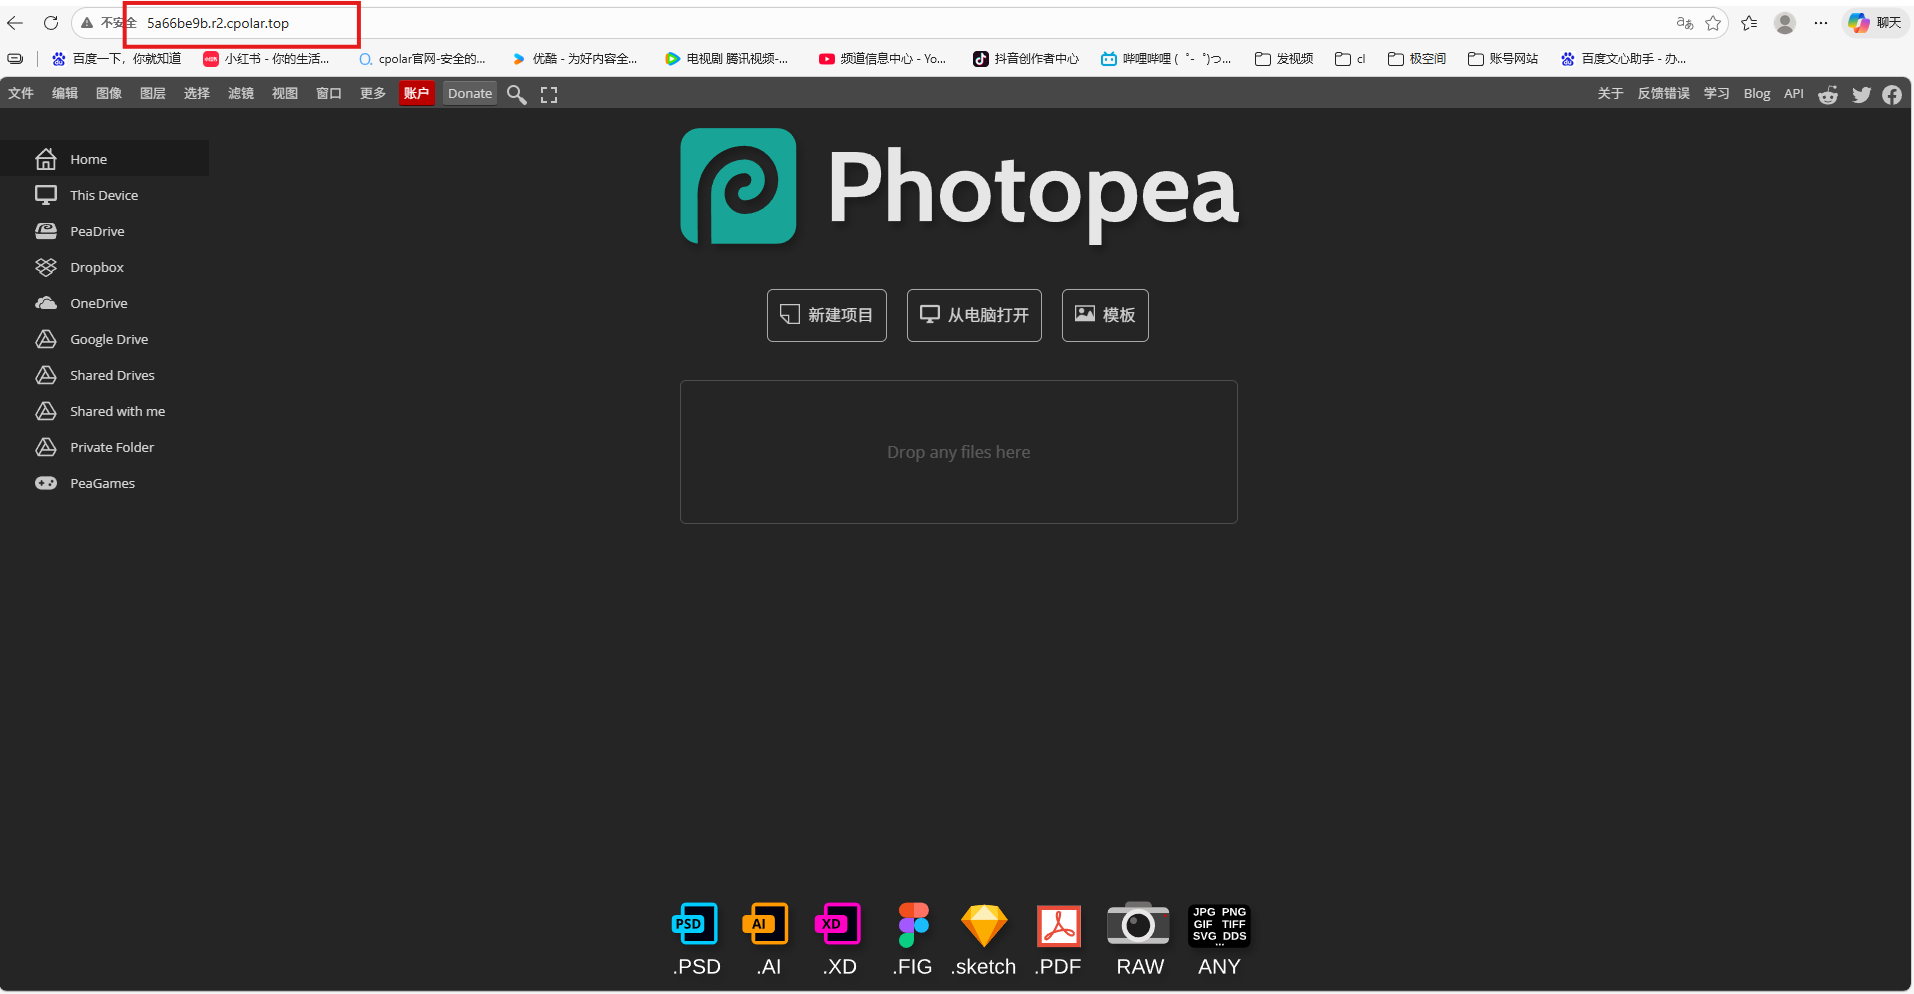 AI Visual Insight: The image shows the result of opening Photopea from an external address, proving that the tunnel path, HTTP forwarding, and frontend loading all work correctly. This means the image editing capability on the NAS has been upgraded from a LAN-only service to a remotely accessible personal cloud application.
A Fixed Subdomain Improves Long-Term Availability and Sharing Efficiency
A random address works for testing, but it is not ideal for long-term use. If you want stable access across devices or want to save the URL as a bookmark or desktop shortcut, you should reserve a persistent subdomain.
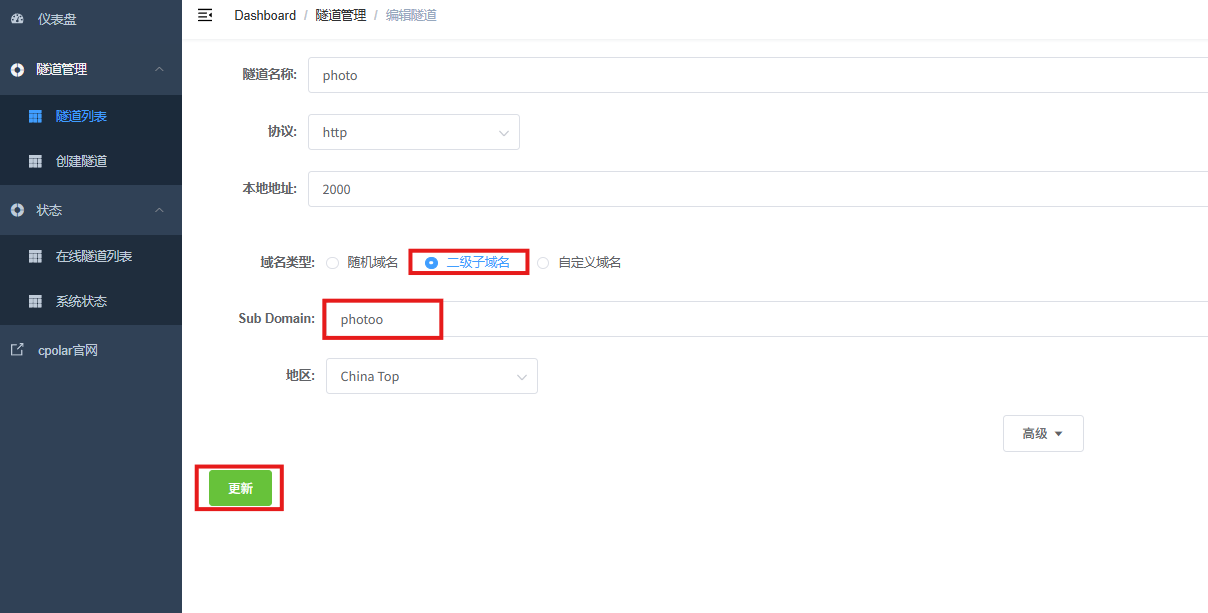
After reserving a subdomain in cpolar, return to the tunnel list and edit the existing tunnel. Change the domain type to Subdomain, enter the reserved name, and update the configuration. From that point on, the public entry URL remains fixed.
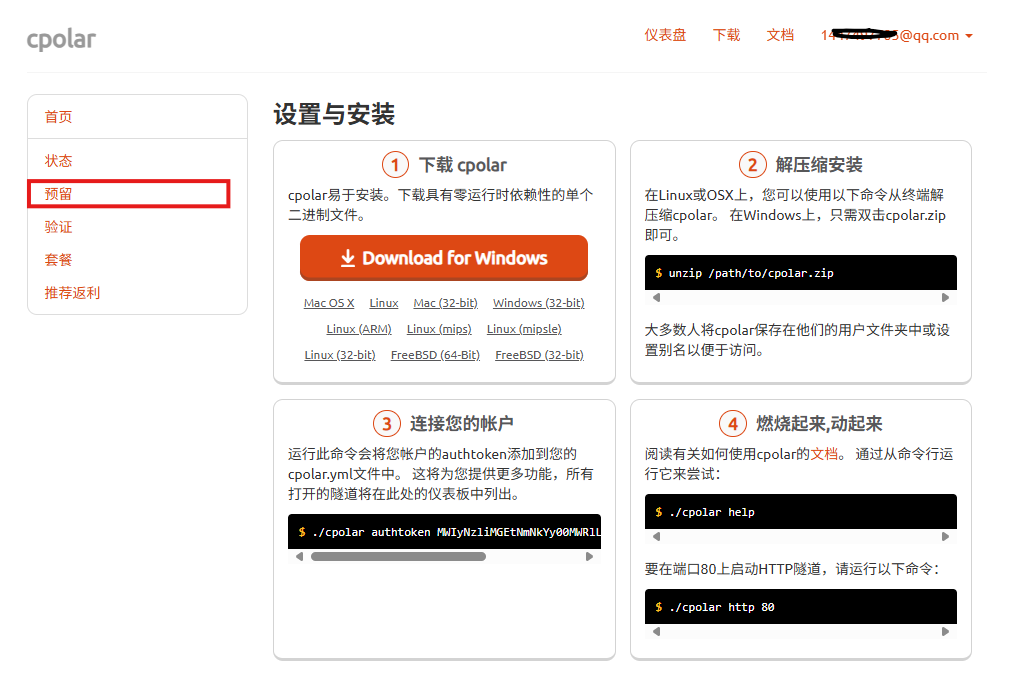 AI Visual Insight: The image shows that cpolar supports reserving a long-term reusable subdomain. For remote image editing scenarios, this means the access entry point can be reused consistently without breaking when a random domain changes.
 AI Visual Insight: The image shows the name, region, and note configuration used when reserving a domain. In practice, this binds a stable naming resource on the public side, and you only need to map the local service to that resource to create a fixed access entry.
 AI Visual Insight: The image shows switching the domain type and assigning the subdomain in the existing tunnel configuration page. This step establishes the full mapping chain of “fixed public domain → cpolar tunnel → local port 2000 → Photopea container.”
 AI Visual Insight: The image shows the result after writing and saving the subdomain configuration, indicating that the tunnel definition has been refreshed. Technically, the new fixed address now replaces the original random address as the stable long-term entry point.
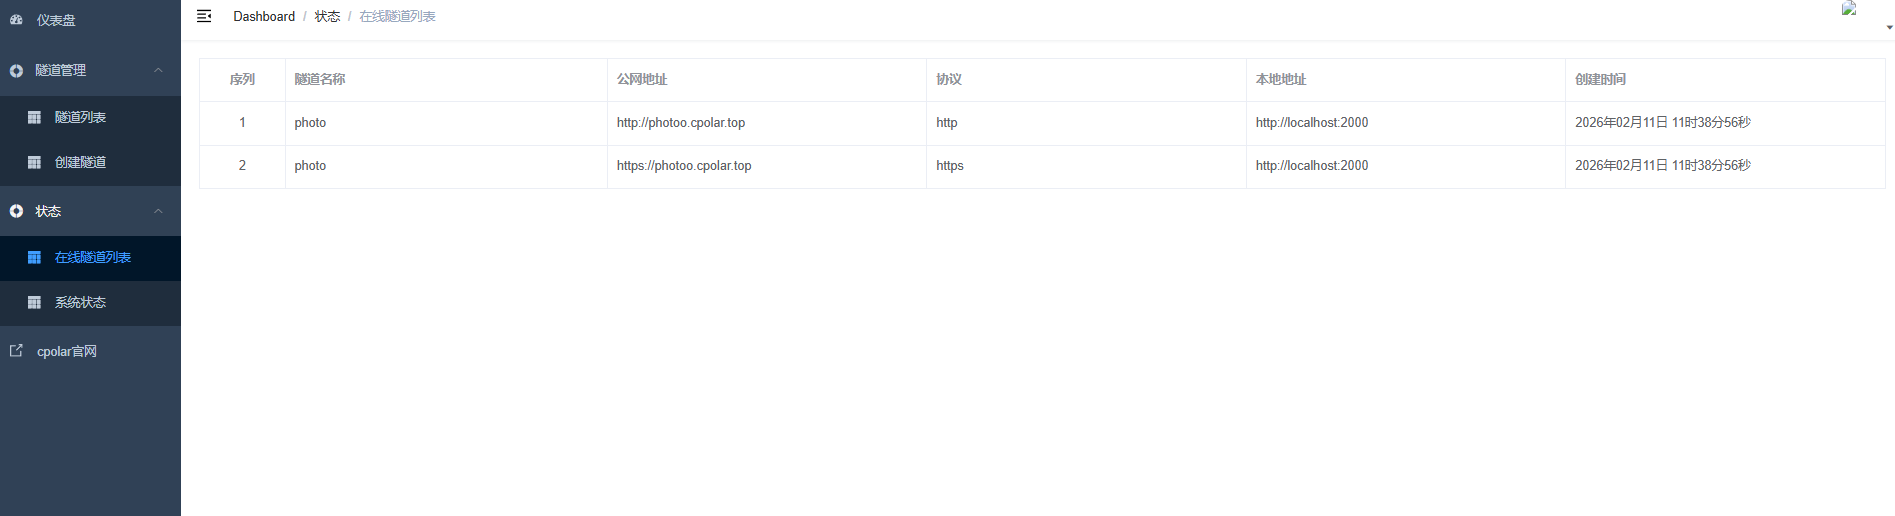 AI Visual Insight: The image shows that the tunnel entry in the address list has switched to the reserved domain, which confirms that the public naming resource is now bound to the actual service. This makes cross-device access, bookmarking, and sharing more reliable.
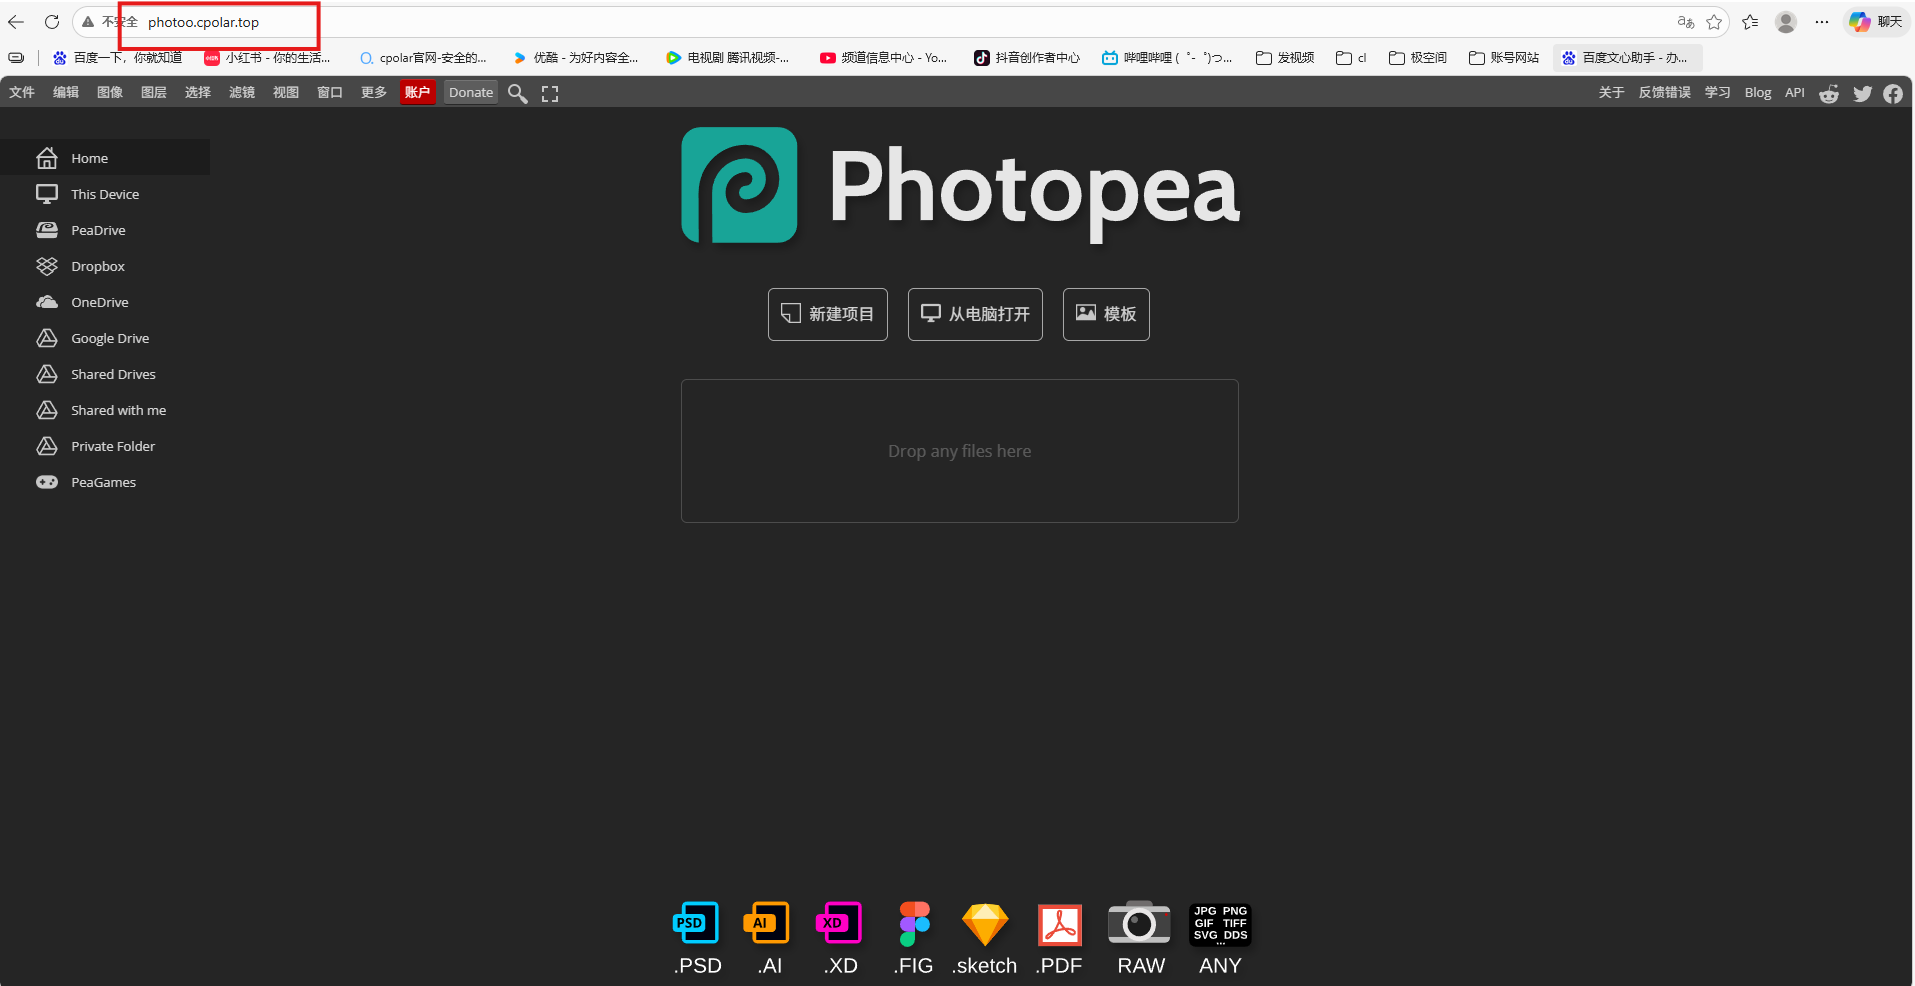 AI Visual Insight: The image shows the final result of successfully accessing Photopea through a fixed public address. It verifies that the full path from the local NAS container to the fixed public domain is complete and ready for long-term remote use.
This Architecture Fits Lightweight Private Image Editing Better Than Professional Production
Overall, this is a very typical home NAS application reuse pattern: Docker provides the service, cpolar exposes the access entry, and the browser unifies the client experience. Its core advantages are low cost, easy deployment, and full control over your data.
But the performance limits are just as clear. A ZSpace NAS is better suited to low- to medium-intensity image processing. If you import very high-resolution PSD files, frontend rendering load and memory consumption will both increase, so lag is an expected outcome. The right positioning is to treat it as a private backup image editing workstation, not the primary platform for a professional design studio.
FAQ: The 3 Questions Developers Care About Most
Q1: Is Photopea equivalent to Photoshop?
A: No. It covers many everyday editing needs and is especially good for PSD compatibility, layer editing, and lightweight design, but it still falls short of Photoshop in plugin ecosystem maturity, professional color management, and heavy-duty workflows.
Q2: Why deploy it on a ZSpace NAS instead of using the online version directly?
A: The main reasons are data privacy and access control. When you deploy the service on your NAS, you do not need to hand your images to a third-party platform, and you can add remote access only when you need it.
Q3: Is cpolar required?
A: No. If you only use Photopea inside your LAN, you can access it directly as soon as the Docker deployment is complete. You only need cpolar when you want to reach it from the internet, another location, or a mobile network.
[AI Readability Summary]
This article builds a reusable private Photopea deployment workflow on a ZSpace NAS. It covers SSH access, Docker container startup, public access through cpolar, and fixed subdomain configuration, helping you create a low-cost, remotely accessible browser-based image editing environment.