Technical Specifications at a Glance
| Parameter | Description |
|---|---|
| Operating System | Windows |
| Runtime | Node.js |
| Integration Method | Bind local OpenClaw through WeChat QR code login |
| Core Protocols / Mechanisms | CLI command invocation, local session authorization, PowerShell execution policy |
| Core Dependencies | Node.js LTS, npm, npx, openclaw, @tencent-weixin/openclaw-weixin-cli |
| Project Popularity | Star count not provided in the source |
This installation guide solves the last-mile problem of triggering a local Agent from WeChat
The value of connecting OpenClaw to a personal WeChat account is not just adding another chat entry point. It is about moving Agent invocation from desktop-only workflows into a high-frequency messaging stream.
That means you can send tasks, share links, and check status directly in WeChat, while your local OpenClaw acts like a remotely triggered execution agent.
The installation path consists of three layers
The first layer is the Node.js runtime. Without it, npm, npx, and the openclaw CLI cannot run.
The second layer is the OpenClaw core installation. It handles local task scheduling, model invocation, and tool execution.
The third layer is the WeChat ClawBot channel installation and QR code authorization. It routes WeChat messages to your local OpenClaw instance.
# Check whether Node.js and npm are installed correctly
node -v    # View the Node.js version
npm -v     # View the npm version
These commands verify that your machine has the minimum runtime environment required for OpenClaw.
You should install the stable Node.js LTS release instead of chasing the newest version
The source material explicitly recommends choosing the Node.js LTS release because it is more stable and better suited for production or long-term usage.
If you plan to keep a local Agent running continuously, stability matters more than new features. This is especially true when you depend on npm, npx, CLI tools, and a WeChat channel on top of the base runtime. Version compatibility should take priority.
 AI Visual Insight: This screenshot shows the two release branches on the official Node.js download page: LTS and Current. The key takeaway is that version selection before installation directly affects compatibility and stability for the openclaw CLI on Windows.
The Node.js installation process is essentially a standard MSI wizard flow
The installation steps include double-clicking the installer, accepting the license agreement, confirming the installation directory, clicking Install, and completing the wizard. There are no extra customization requirements. The key result is that the system must recognize the installation correctly through PATH.
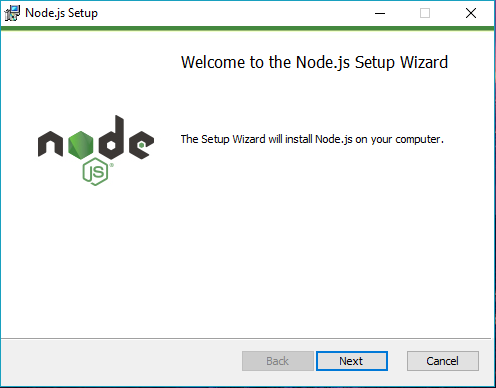 AI Visual Insight: This image shows the entry screen of the Node.js installer wizard, indicating that the user has successfully launched the MSI installer and entered the initialization phase before actual deployment.
 AI Visual Insight: This screenshot corresponds to the welcome page of the installation wizard. It shows that the installer is preparing to guide the user through the setup flow with no complex parameters, which makes it suitable for fast standardized installation.
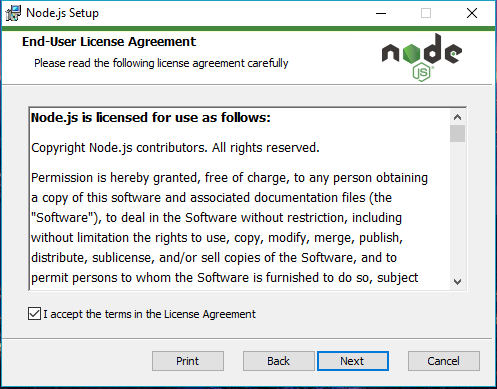
 AI Visual Insight: This image shows the license agreement screen. The critical step is accepting the agreement before you can continue to the next step.
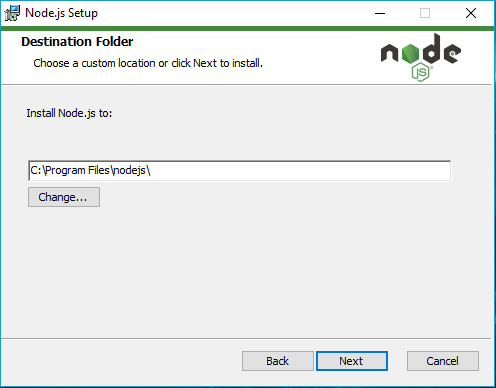
 AI Visual Insight: This image shows the installation directory configuration screen. The default path is usually under Program Files on the system drive. This determines where the Node.js binaries and npm components are installed and affects PATH registration.
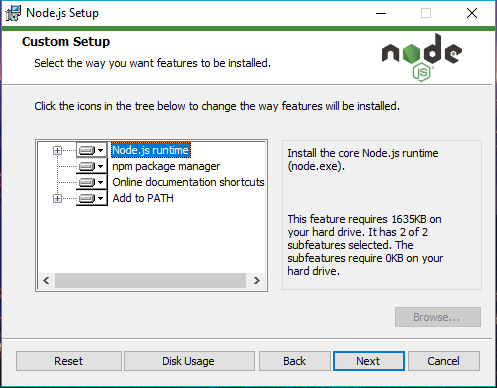
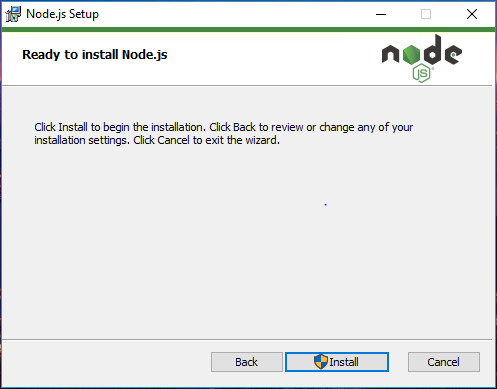 AI Visual Insight: This screenshot reflects the installation confirmation stage, which means the required parameters have already been set. After you click Install, the installer starts copying files, configuring environment variables, and registering components.
 AI Visual Insight: This image shows the actual Node.js installation in progress, indicating that the system is writing runtime files and executing installation tasks in real time.
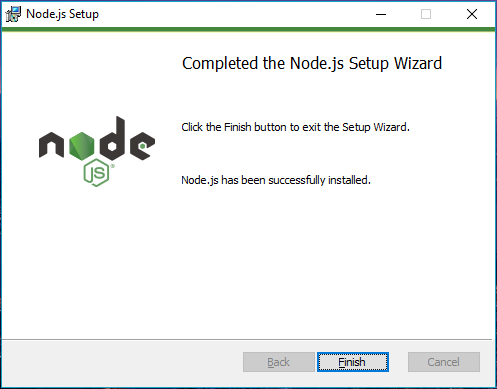 AI Visual Insight: This screenshot shows the installation completion screen, confirming that Node.js has been successfully deployed to the local machine. The next step is command-line verification and follow-up tool installation.
PowerShell execution policy restrictions are the most common blocker when installing OpenClaw on Windows
Many users encounter errors when they run npx or related installation commands directly. In most cases, the root cause is not the openclaw package itself, but PowerShell blocking script execution by default.
This issue is fundamentally caused by the Windows execution policy, not by an unavailable npm registry. In practice, fixing the permission policy first is more effective than repeatedly reinstalling packages.
 AI Visual Insight: This screenshot shows the Windows search entry for opening Command Prompt or PowerShell, emphasizing that all key commands in this guide must run in a terminal environment.
# Temporarily allow script execution only for the current PowerShell session
Set-ExecutionPolicy RemoteSigned -Scope Process
This command affects only the current session. After you close the terminal, the policy automatically reverts, which makes this the recommended option for balancing usability and security.
Install OpenClaw and the WeChat channel after updating the policy
You should keep the installation order unchanged: install openclaw first, then install the WeChat channel CLI. This makes troubleshooting easier and helps you identify exactly which layer fails if something goes wrong.
# Install OpenClaw globally
npm install -g openclaw

# Install the WeChat ClawBot channel
npx -y @tencent-weixin/openclaw-weixin-cli@latest install
These two commands install the local Agent core program and deploy the WeChat connection channel.
WeChat QR code binding creates the message entry point, not the execution capability itself
After the installation completes, the terminal provides connection guidance and a QR code. You must use WeChat on your phone to scan the code and authorize the session before WeChat and local OpenClaw can establish a binding.
If the QR code flow does not appear automatically in the terminal, you can run the login command manually to trigger channel binding again.
# Manually trigger WeChat channel login
openclaw channels login --channel openclaw-weixin
This command is used to re-establish the WeChat authorization flow when the QR code does not appear or the connection is interrupted.
After WeChat becomes the remote entry point, actual execution still depends on the completeness of the local setup
Once the integration succeeds, WeChat behaves more like a remote control, while the local OpenClaw environment remains the actual execution endpoint. If the model is not configured correctly, the tools are not authorized, or the scraping capability is incomplete, the user experience degrades immediately.
In other words, WeChat ClawBot solves the trigger mechanism problem. It does not replace the local Agent’s compute, permissions, or toolchain setup.
Three common scenarios best demonstrate the value of a WeChat entry point
The first scenario is instant task submission. You can send an instruction as soon as you think of it, without opening your computer or switching interfaces.
The second scenario is forwarding links and text. When you see a webpage, article, or requirement description, you can send it directly to ClawBot for processing, which fits naturally into your everyday information flow.
The third scenario is remote status lookup. You can check local task progress, system status, or file processing results from WeChat, as long as the required permissions have been opened securely.
# Confirm once again that the environment is complete and usable
node -v
npm -v
openclaw --help   # Check whether the OpenClaw CLI can be invoked
This verification set is useful as a minimum viability check after the installation finishes.
A successful deployment should be measured by an end-to-end working path, not just by commands completing without errors
A truly usable installation result should meet at least four conditions: Node.js works normally, the OpenClaw CLI is callable, the WeChat channel can display a QR code, and WeChat messages can be processed locally.
Seeing npm finish installation does not mean the full path is operational. For Agent systems, opening the entry point is only the beginning. The actual capability still depends on models, tools, and permission governance.
FAQ
Q1: Why does the npx installation command say that script execution is disabled?
A: This is caused by the PowerShell execution policy restriction, not necessarily by a broken package. Run Set-ExecutionPolicy RemoteSigned -Scope Process first, then retry the installation.
Q2: Why does WeChat ClawBot not respond after installation when I send a message?
A: In most cases, the problem is not the WeChat channel itself. The local OpenClaw service may not be running correctly, the model may not be configured, the tools may not be authorized, or the message may arrive successfully but fail during actual processing.
Q3: Can WeChat run independently without the computer after integration?
A: No. WeChat is only the message entry point. The local OpenClaw instance performs the actual task execution. The computer-side environment, network, model setup, and permission configuration still define the system’s real capabilities.
Core summary
This guide reconstructs the Windows installation workflow for connecting OpenClaw to a personal WeChat account. It covers Node.js environment preparation, PowerShell execution policy adjustments, OpenClaw and WeChat ClawBot installation, QR code binding, and common usage scenarios so developers can quickly establish a working path between a local Agent and a WeChat entry point.