This article explains how to implement real-time automatic glasses overlay in a HarmonyOS 6 lightweight camera app. The core challenge is accurately mapping offline face detection results from normalized coordinates into a Center-Crop preview, then using ArkTS to render high-refresh stickers that follow the face smoothly. The approach solves three common AR sticker problems: misalignment, mirrored offset, and render synchronization. Keywords: HarmonyOS 6, ArkTS, face stickers.
This technical specification quickly defines the implementation boundaries
| Parameter | Description |
|---|---|
| Development Language | ArkTS, ETS |
| Runtime Platform | HarmonyOS 6 |
| Visual Input | 1:1 AI inference input, such as 128×128 |
| Preview Strategy | Center-Crop |
| Coordinate System | [0.0, 1.0] normalized coordinates -> screen pixel coordinates |
| Core Capabilities | Face detection, sticker projection, responsive UI rendering |
| Collaborative Components | XComponent, Stack, Image, @State, @Watch |
| Protocol / License | Original article marked as CC 4.0 BY-SA |
| Star Count | Not provided in the source data |
| Core Dependencies | ArkUI, ArkTS state management, face detection result data structures |
The core value of this approach is that AI detection results land exactly on the frame users actually see
Real-time glasses overlay is not as simple as placing a PNG on top of a face bounding box. It is a complete spatial mapping pipeline. The AI model sees a standardized square input, while the user sees a cropped mobile preview layer. These two spaces are inherently different.
If you ignore that difference, stickers can appear horizontally flipped, vertically shifted, or incorrectly scaled. This issue becomes especially important with front-facing cameras, where the preview is usually mirrored. In that case, the coordinate transform must correct the X axis separately.
Coordinate misalignment comes from three mismatched spatial layers
The first layer is the model input space, which is usually compressed into a 1:1 ratio. The second layer is the raw camera image space, which contains the actual detection region. The third layer is the UI preview space, which is typically Center-Cropped to fill the screen.
Only by modeling the relationship between these three spaces explicitly can a sticker stay anchored to the eye region consistently instead of merely looking approximately correct. This is one of the key thresholds for lightweight mobile AR effects.
interface Face {
  x1: number
  y1: number
  x2: number
  y2: number
}

interface StickerPosition {
  x: number
  y: number
  width: number
  height: number
}
These definitions unify the input bounding box and the output sticker structure, forming the basis for all subsequent projection calculations.
The projection algorithm converts AI coordinates into UI-renderable coordinates
The implementation centers on StickerManager. It first determines the short-side baseline based on screen orientation, then calculates the offset introduced by Center-Crop, and finally applies front-camera mirroring correction to produce the final sticker position.
For face-type stickers such as glasses, you also need semantic-level adjustments. A face bounding box covers the full face, while glasses should only occupy the eye region. In practice, this usually means shifting the sticker slightly downward and compressing its height.
The following code summarizes the coordinate projection logic used in production
public calculateStickerPosition(
  face: Face,
  canvasWidth: number,
  canvasHeight: number
): StickerPosition | null {
  const isPortrait = canvasHeight > canvasWidth
  const size = isPortrait ? canvasWidth : canvasHeight // Use the short side as the 1:1 AI baseline

  const offsetX = isPortrait ? 0 : (canvasWidth - size) / 2 // Compensate for left-right crop in landscape
  const offsetY = isPortrait ? (canvasHeight - size) / 2 : 0 // Compensate for top-bottom crop in portrait

  const mirroredX = 1 - face.x2 // Reverse the X axis for front-camera mirroring
  const x = mirroredX * size + offsetX
  const y = face.y1 * size + offsetY
  const w = (face.x2 - face.x1) * size
  const h = (face.y2 - face.y1) * size

  return {
    x,
    y: y + h * 0.1, // Move the glasses sticker down by 10% for a better eye fit
    width: w,
    height: h * 0.5 // Compress height to avoid covering the full face
  }
}
This code completes four critical steps: normalized coordinate conversion, crop offset compensation, mirroring correction, and semantic anchor adjustment for glasses.
The sticker manager must use semantic anchor design to scale to more effects
If you treat a sticker only as an image asset, the system quickly becomes difficult to manage. A better approach is to define anchor types semantically. For example, head can represent head accessories, while face can represent glasses, masks, and other face-based effects.
This abstraction decouples asset management from projection logic. When you add a new sticker type, you do not need to rewrite the rendering pipeline. You only need to configure anchor rules and sizing strategy.
interface Sticker {
  resource: Resource
  type: 'head' | 'face'
}

const STICKERS: Sticker[] = [
  { resource: $r('app.media.glasses'), type: 'face' }
]
This configuration upgrades a sticker from a static image into a renderable object with semantic rules.
ArkTS reactive rendering determines whether stickers can follow in milliseconds
At the UI layer, the recommended approach is to place the preview layer and sticker layer inside the same Stack. Use XComponent at the bottom to host the camera preview, then dynamically generate Image components above it based on detection results. The system can then schedule redraws automatically.
The key is not manual refresh. The key is to use faces as the state source. As soon as the AI thread returns updated coordinates, ArkTS drives position and size updates automatically, producing a continuous follow effect.
This is the minimum viable ArkTS rendering structure
@State faces: Face[] = []

build() {
  Stack() {
    XComponent({ id: 'camera_preview', type: 'surface' })

    ForEach(this.faces, (face: Face) => {
      const pos = this.calcPos(face) // Calculate sticker coordinates from the face bounding box
      Image($r('app.media.glasses'))
        .width(pos.width)
        .height(pos.height)
        .position({ x: pos.x, y: pos.y })
    })
  }
}
This code shows how to bind the sticker layer to detection results and overlay it on top of the camera preview.
The visual result shows that the sticker has entered an interactive AR preview stage
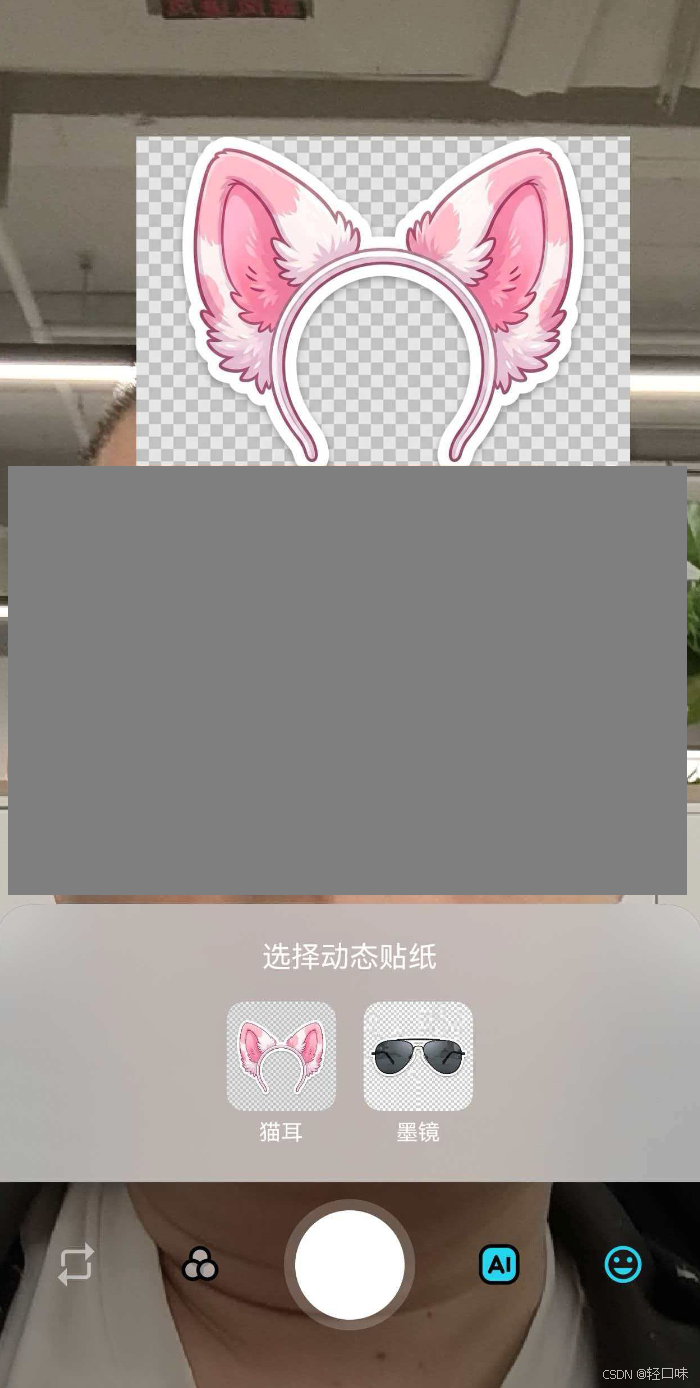 AI Visual Insight: The image shows that after the face is detected, the glasses sticker is stably overlaid on the eye region in 2D. This indicates that the detection box has already been projected from AI normalized coordinates into ArkUI screen coordinates, and the sticker dimensions have been semantically scaled so that they do not cover the entire face. This matches the real-time preview characteristics of lightweight AR effects.
This hybrid development model balances performance and interaction efficiency
The lower AI inference layer produces stable face bounding boxes, while the upper ArkTS layer handles high-frequency rendering and UI responsiveness. The division of responsibility is clear. This avoids pushing UI logic into Native code while still preserving smooth sticker tracking.
For HarmonyOS 6 lightweight camera apps, this “Native inference + ArkTS rendering” pattern works not only for glasses, but also for cat ears, headwear, masks, and any other lightweight effect based on face anchors.
FAQ
1. Why does the sticker appear reversed in the front-facing camera?
Because the front-facing preview is usually mirrored, but the AI returns coordinates from the original image space. If you do not apply the horizontal flip with 1 - x, the sticker will appear in the wrong position.
2. Why can glasses still appear too high or too low even when using a face bounding box?
A face bounding box describes the full face region, not precise eye landmarks. A glasses sticker requires anchor fine-tuning based on the face box. A common approach is to move it downward by 5% to 15% and compress its height.
3. Can this approach scale to more AR effects?
Yes. As long as the sticker manager supports semantic types such as head and face, and defines offset and scaling rules for each type, you can extend it quickly to more real-time effects.
Core Summary: This article reconstructs a real-time automatic glasses overlay solution for HarmonyOS 6 lightweight camera apps. It focuses on projecting face detection coordinates from AI-normalized space into screen pixel space, correcting front-camera mirroring, and implementing reactive sticker rendering in ArkTS. The approach is well suited for developers building AR camera effects.